How to Make a Bay Laurel Wreath (Bay Leaf Wreath DIY)
Imagine hanging a beautiful bay laurel (bay leaf) wreath in your kitchen. Its simple greenery adds charm and a natural touch to your space. As the leaves dry, you can pluck them to infuse your cooking with their distinctive flavor. With just a few materials, you can make this DIY bay leaf wreath and enjoy both its beauty and usefulness in the kitchen.
What We Will Cover
- Why make a bay laurel wreath
- Supplies you’ll need
- Step-by-step instructions
- Tips for hanging and using your wreath
- FAQs about bay laurel wreaths
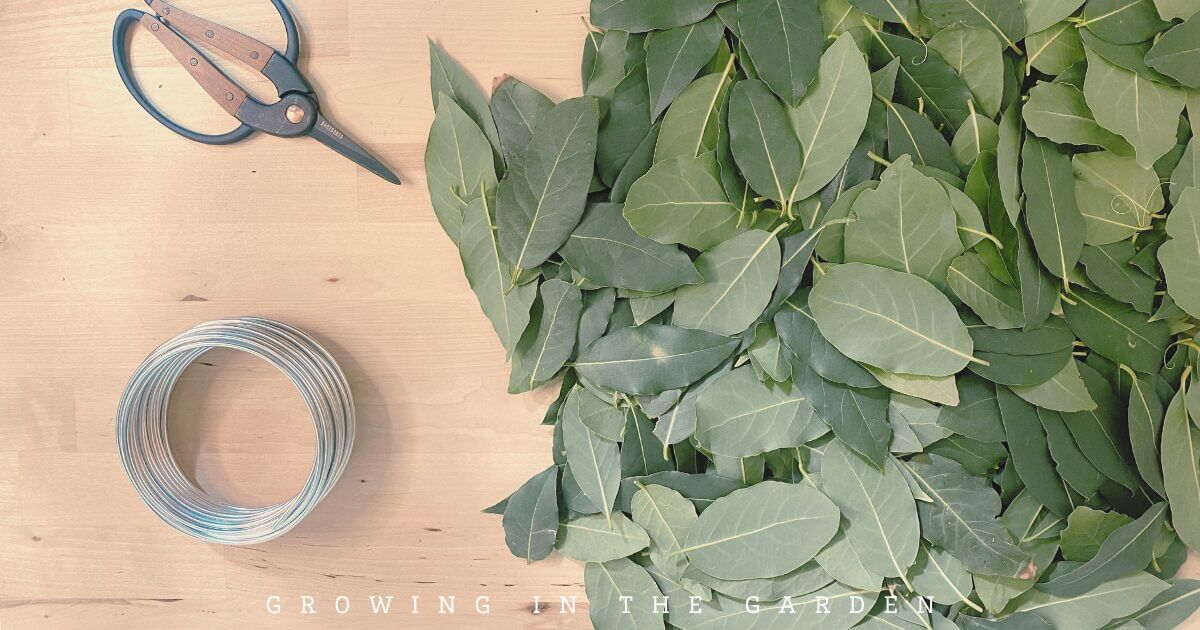
Step 1: Gather Your Materials
To make a bay leaf wreath, you will need fresh bay leaves, wire, and string. Fresh leaves are important because they are more pliable and easier to work with. Learn how to grow bay laurel in this blog post.
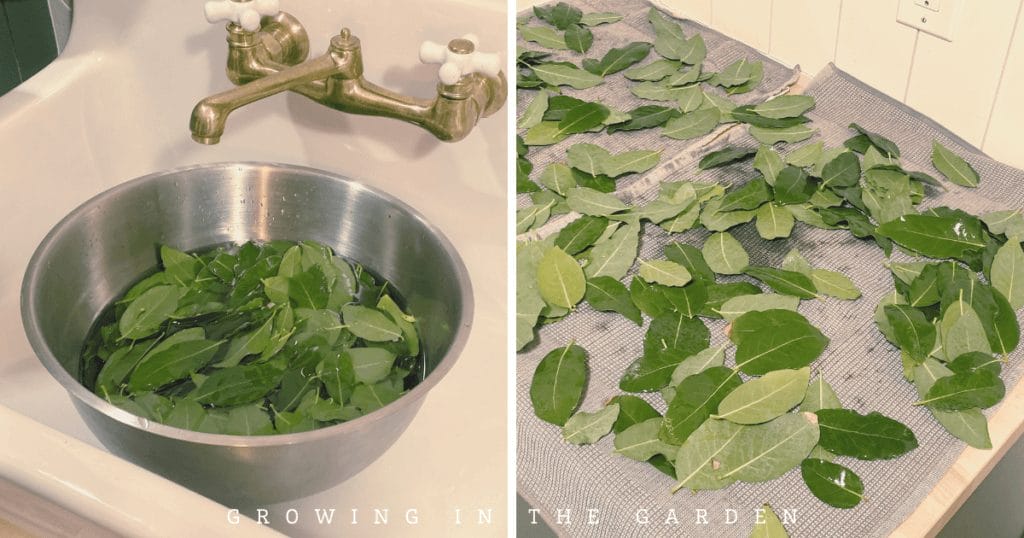
Step 2: Prep Your Leaves & Wire
Once you have gathered your materials, wash the bay leaves thoroughly and let them dry completely.
Then, take the wire and shape it into a circle of approximately 4 inches (10 cm) in diameter. Leave one end free while creating a loop at the other end.

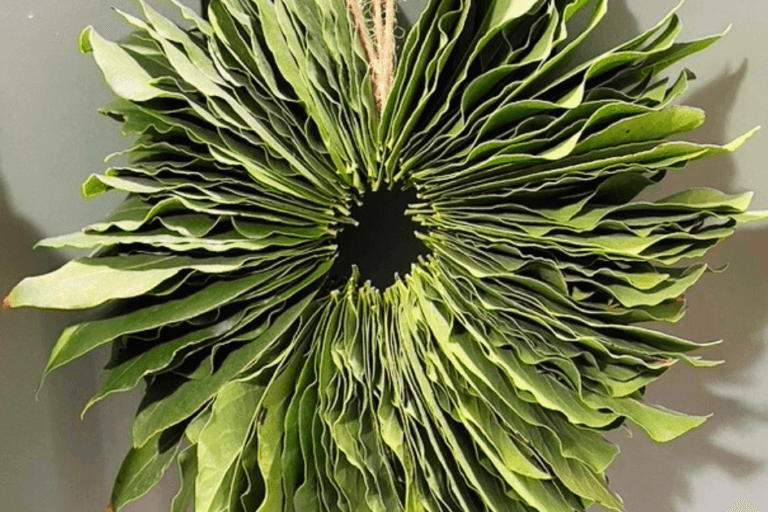
Step 3: Arrange the Bay Leaves
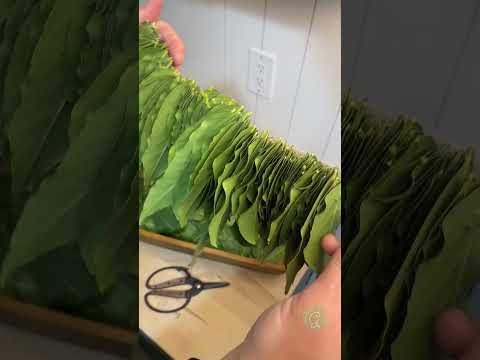
Overlap several leaves while keeping the petioles (the stalk that supports a leaf in a plant and attaches it to the stem) even, and then trim the end off using scissors or pruning shears.
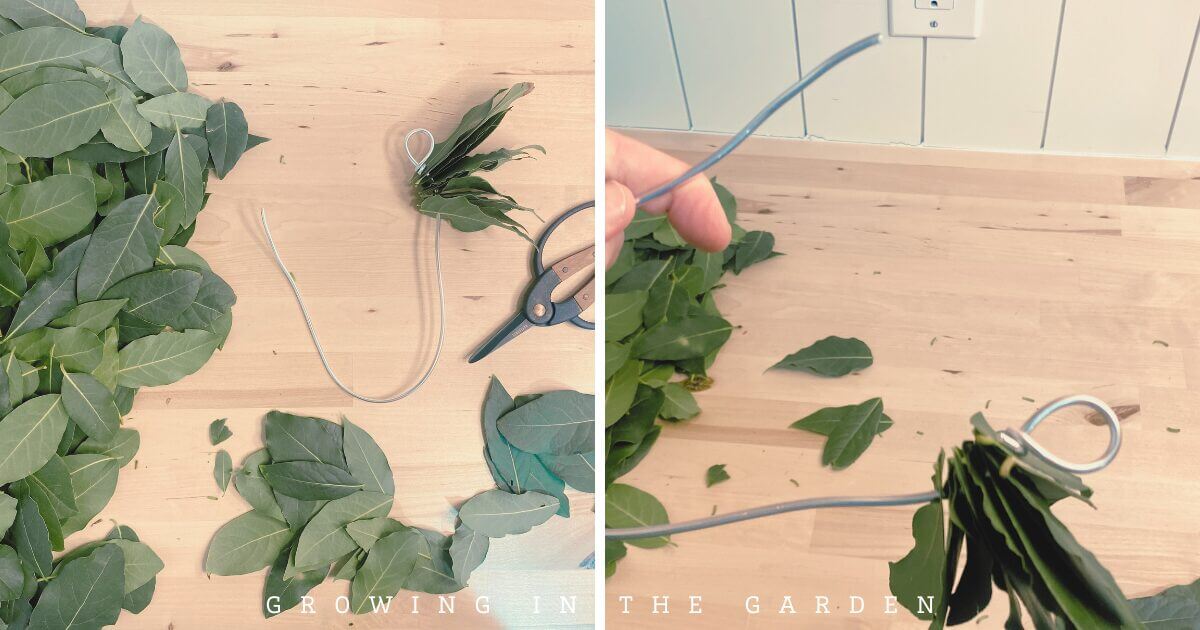
Insert the stems into the wire circle until it is full. Continue this process until the entire circumference is covered with lush greenery.
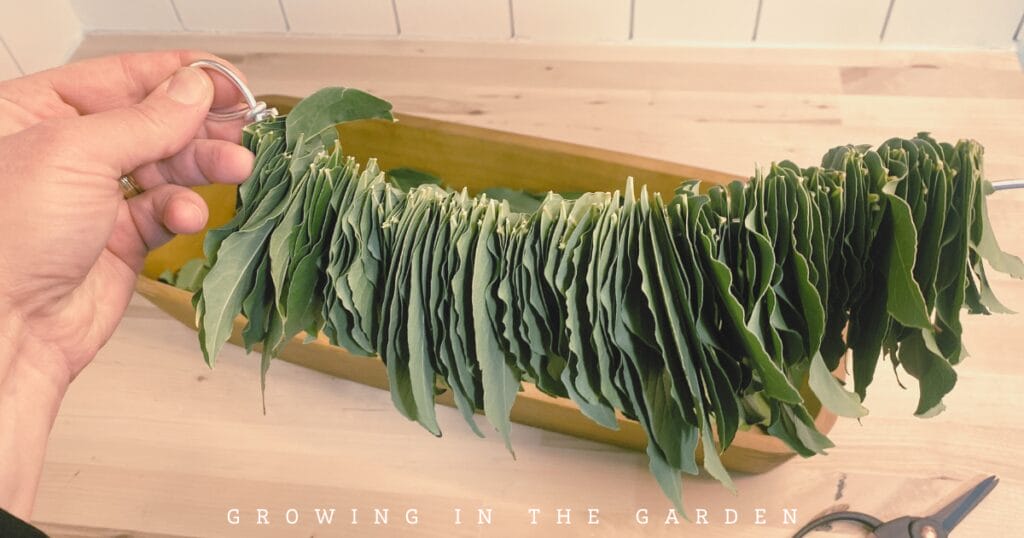
Step 4: Secure the Wreath
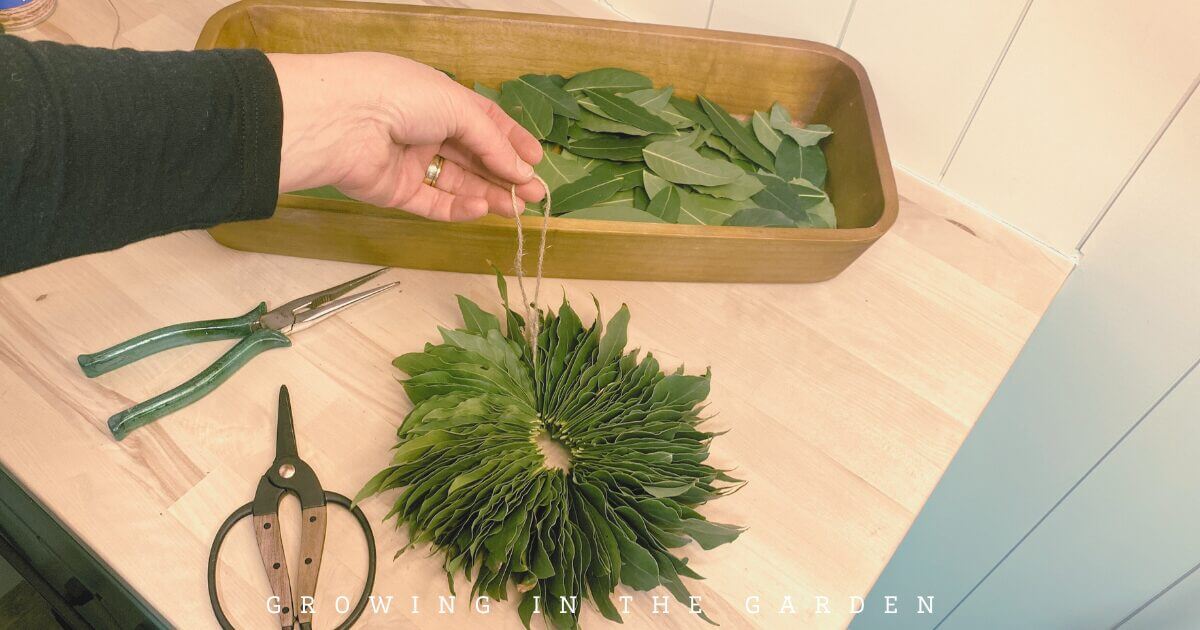
After all of your bay leaves are inserted into the wire circle, pass the free end through the looped end of the wire. Twist the wire and secure the end so that it forms a complete circle. Use string to tie around the top of your wreath so that it hangs easily.
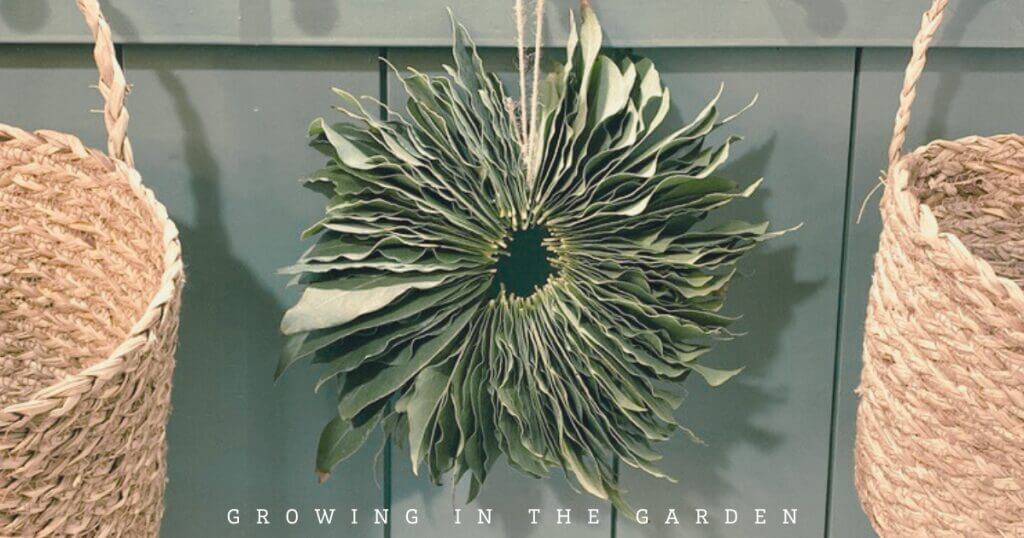
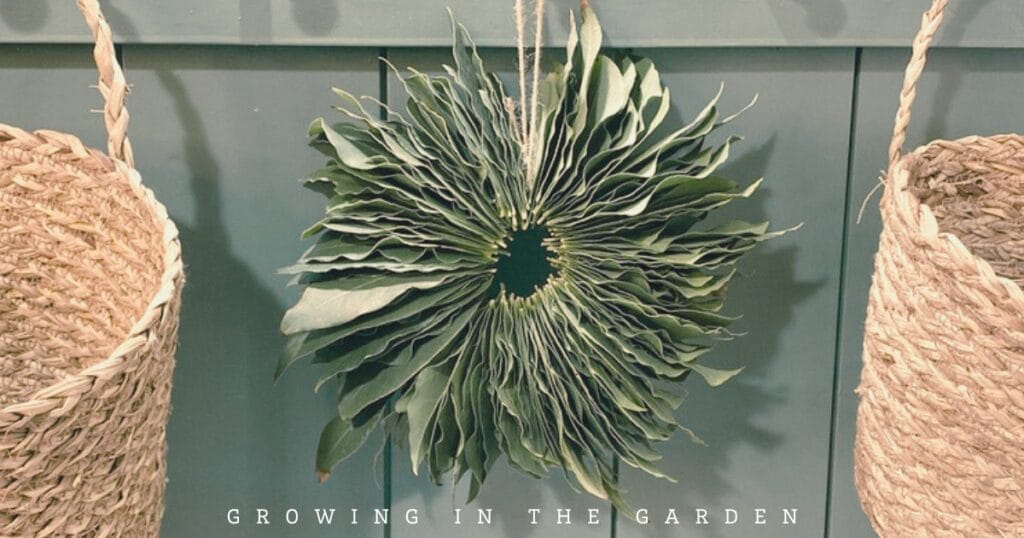
Step 5: Enjoy!
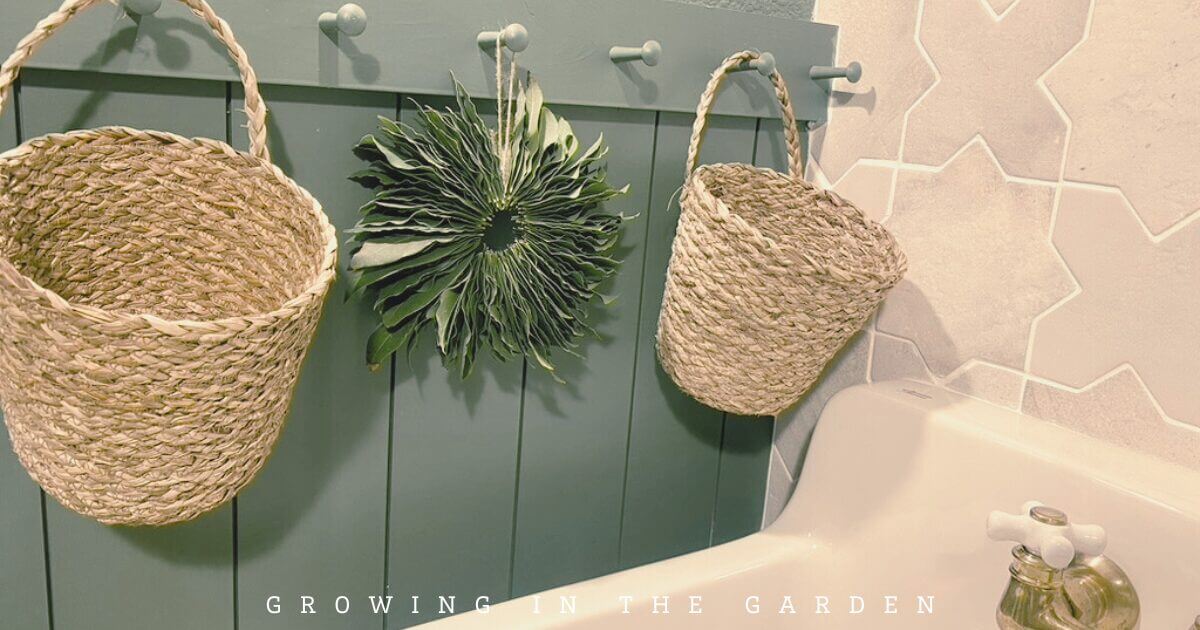
Your beautiful and fragrant bay leaf wreath is now complete! Hang it on a peg in your kitchen or anywhere for an inviting touch. The leaves will dry naturally and can be added to flavor dishes anytime. Hang it out of direct sunlight and use it within 6 months to a year for the most flavor.
Making a bay laurel wreath is an easy and fun DIY project that anyone with access to bay leaves can do. I hope this guide has been helpful in creating your own stunning bay leaf wreath. Try it and see how simple it is to make something truly beautiful.
Looking for a delicious way to use bay leaves? They add subtle depth to my Blue Cheese Thyme Scalloped Potatoes—a rich and comforting side dish that’s always a hit.
FAQs About Bay Laurel Wreaths
How long does a bay leaf wreath last?
A bay laurel wreath can last 6–12 months. Over time, the leaves dry and lose flavor. Replace it when the leaves become brittle and flavorless.
Can you cook with the leaves from a bay wreath?
Yes! Simply pluck off dried leaves and use them as you would store-bought bay leaves.
Where should I hang a bay laurel wreath?
Hang it in a cool, dry spot out of direct sunlight. A kitchen wall, pantry door, or shaded entryway is ideal.
Do I need fresh or dried bay leaves to make a wreath?
Always start with fresh bay leaves. They’re flexible and easier to weave. They’ll naturally dry while hanging.
Can I make a larger bay laurel wreath?
Yes. Use a larger wire frame and gather more bay leaves. The method is the same—just scale up the size.

Read this post for more information about growing herbs in the low desert of Arizona.


So much fun!!! Easy to do and great step by step pics!
Thanks!
Can one do this with dried leaves or are they too brittle to poke holes through?
You’ll need fresh. The dry are too brittle like you say. It’s possible you could try with a sharp needle to use dry leaves if that’s all you have.