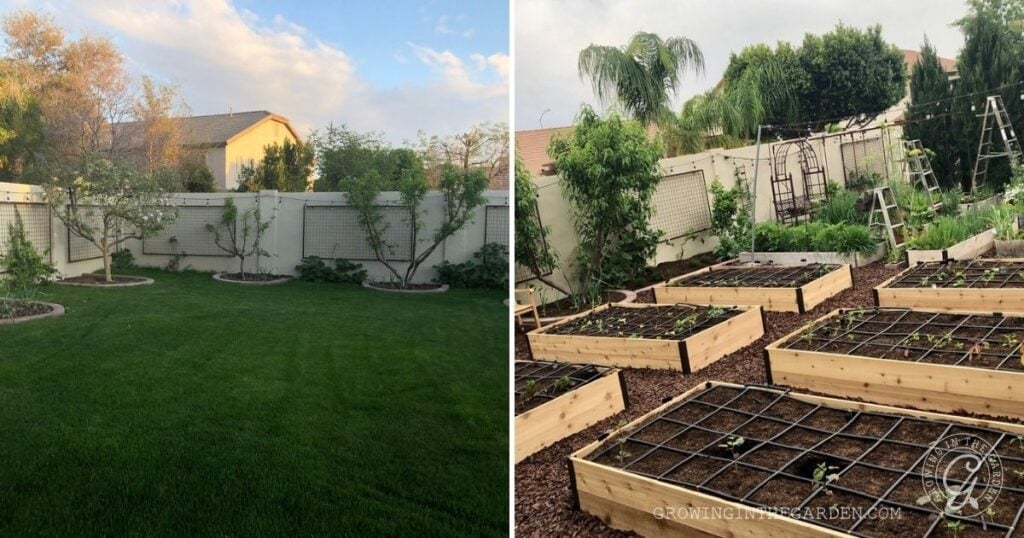
How to Remove Bermuda Grass Organically and Install Raised Beds
Our 10-Step Backyard Makeover
Bermuda grass can feel impossible to get rid of, especially in hot climates like Arizona. It spreads fast, grows deep, and quickly takes over garden spaces. If you’re wondering how to remove Bermuda grass organically and start a raised bed garden, you’re in the right place.
In the spring of 2020, we decided to expand our backyard garden, but unlike other parts of the yard, this area was full of Bermuda grass. Before we could plant anything, we had to address the issue. In this post, I’ll show you exactly how we removed Bermuda grass without chemicals and created a productive, low-maintenance raised bed garden.
This 10-step process is chemical-free and beginner-friendly. I’m also sharing answers to the most common questions I get about removing Bermuda grass and keeping it from coming back.
What We Will Cover
- Why We Removed Bermuda Grass
- Our 10-Step Process to Remove Bermuda Grass Organically and Install Raised Beds
- Step 1: Make a Plan
- Step 2: Remove the Top Layer of Bermuda Grass
- Step 3: Rough-In the Irrigation System
- Step 4: Lay Landscape Fabric
- Step 5: Assemble and Place the Raised Beds
- Step 6: Layer Cardboard Inside the Beds
- Step 7: Fill Beds with Soil
- Step 8: Finish the Irrigation System
- Step 9: Add Mulch Between the Beds
- Step 10: Plant Your Garden
- FAQ: Removing Bermuda Grass Without Chemicals
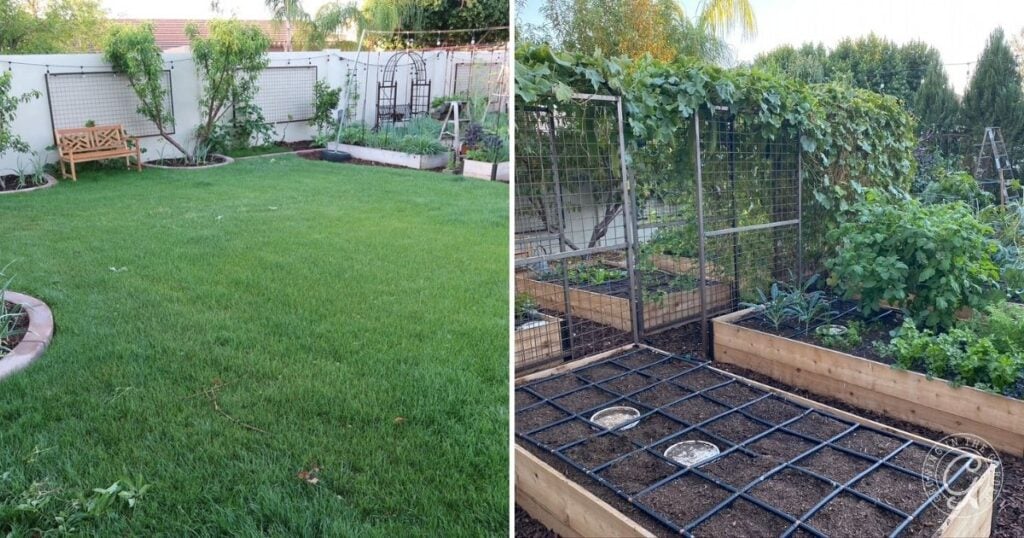
Why We Removed Bermuda Grass
We wanted to expand our backyard garden, but Bermuda grass covered the entire area. Since our kids still use the lawn, we left a grassy section and created a clear, durable border between the grass and new garden beds using concrete curbing.
We knew that simply removing the grass wouldn’t be enough. Bermuda grass spreads underground and will find any opportunity to grow back. Our approach included multiple layers of physical barriers and intentional garden design.
Our 10-Step Process to Remove Bermuda Grass Organically and Install Raised Beds
Step 1: Make a Plan
Decide how much lawn to remove and where your garden will go. Use durable edging like concrete or metal to separate garden areas from lawn. Map out your raised bed layout, keeping sun exposure, irrigation access, and pathways in mind.
Need help? Read 10 Tips for Designing Raised Bed Gardens.
Step 2: Remove the Top Layer of Bermuda Grass
Time: Half-day to full day
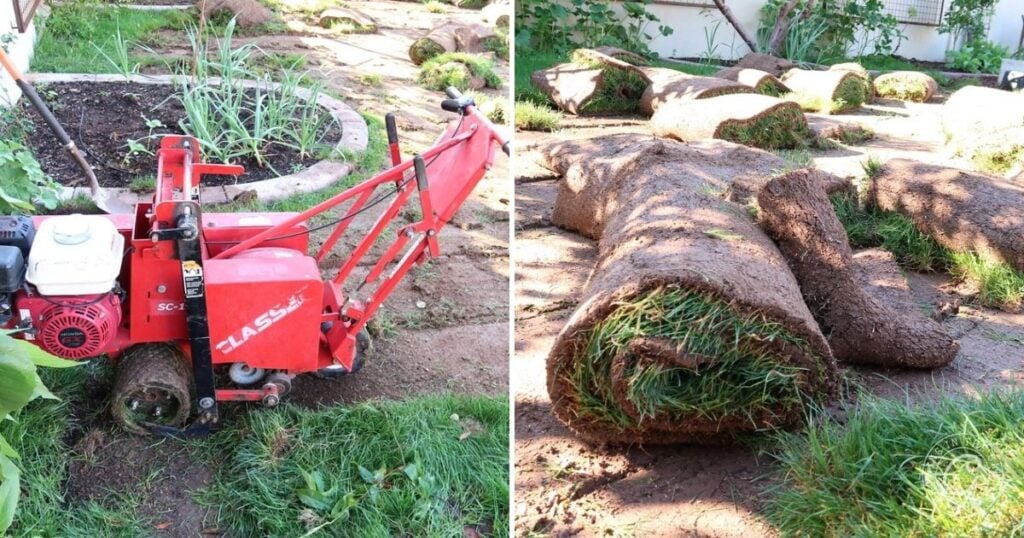
We tackled this project in the early spring while Bermuda grass was dormant. Using a sod cutter rented from Home Depot, we removed the top 4 to 6 inches of winter grass and roots. This cuts down regrowth dramatically.
We rolled up the removed sod and gave it to someone who was redoing their yard.
Tip: Most Bermuda roots are in the top 6 inches, but many rhizomes can grow deeper. Remove as much as possible.
Step 3: Rough-In the Irrigation System
Time: Depends on amount of beds.
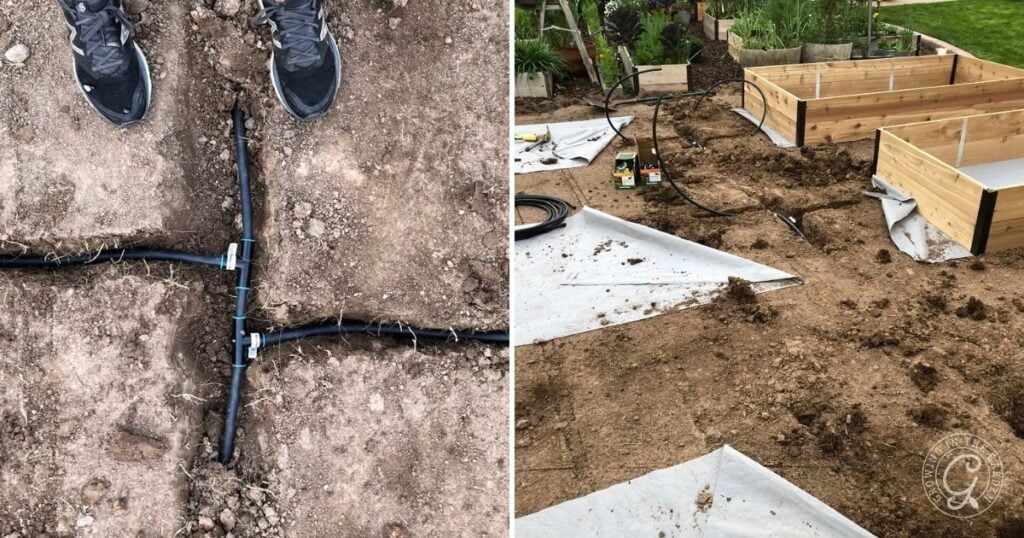
We placed pieces of weed cloth to represent our raised beds and tried out a few different layouts before deciding. Then, we converted one sprinkler head into a drip line and capped the rest.
We ran a main drip line between bed locations and stubbed out short lines for each bed.
Want to know more? See my post on the best way to water raised beds.
Step 4: Lay Landscape Fabric

Time: 1 to 2 hours
Next, we laid permeable landscape fabric across the entire cleared area. This allows water and nutrients through but blocks light to prevent Bermuda regrowth. Secure the edges with landscape staples and overlap pieces to avoid gaps.
Pro Tip: Choose heavy-duty fabric—not plastic sheeting.
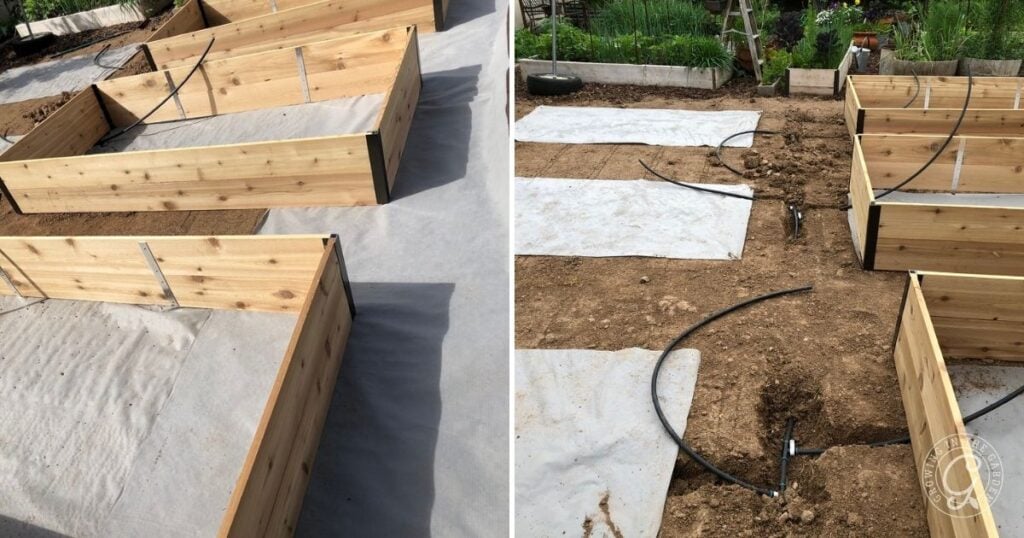
Step 5: Assemble and Place the Raised Beds
Time: 20 min to 1 hour per bed
We used raised beds and placed them directly on top of the landscape fabric. If you’re building your own beds, now is the time to install them and level them. Here’s a link to the beds I like to use from Garden in in Minutes. Use code Angela10 to save $10 off $100 or ANGELA to save 7% on any size order.
For layout tips, see Raised Bed Garden Design.
Step 6: Layer Cardboard Inside the Beds
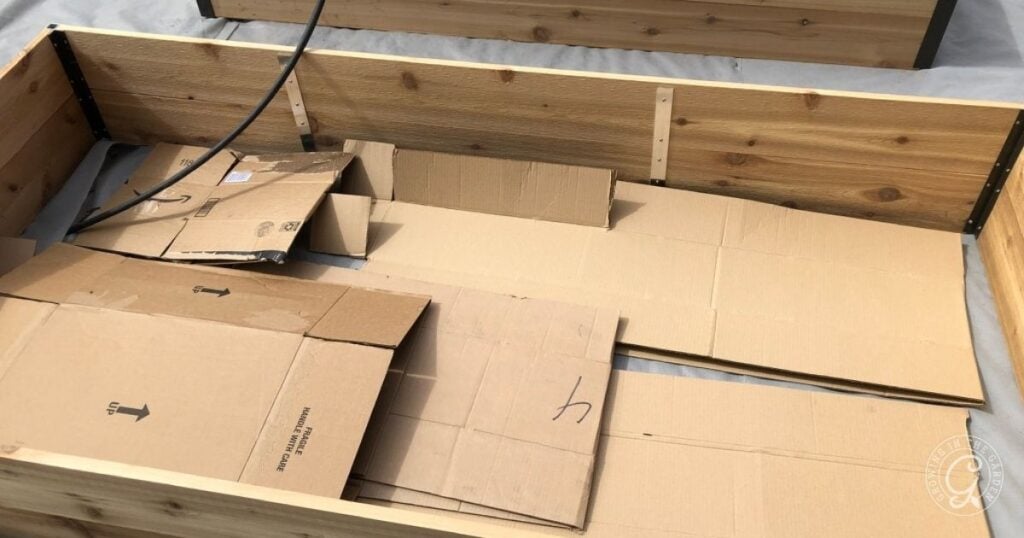
Time: 30 minutes
We added a layer of cardboard inside each bed as another way to smother Bermuda grass. The large shipping boxes from the garden beds and watering grids worked perfectly.
Tip: Overlap pieces and remove any plastic tape or labels. Wet the cardboard to help it stay in place and begin breaking down.
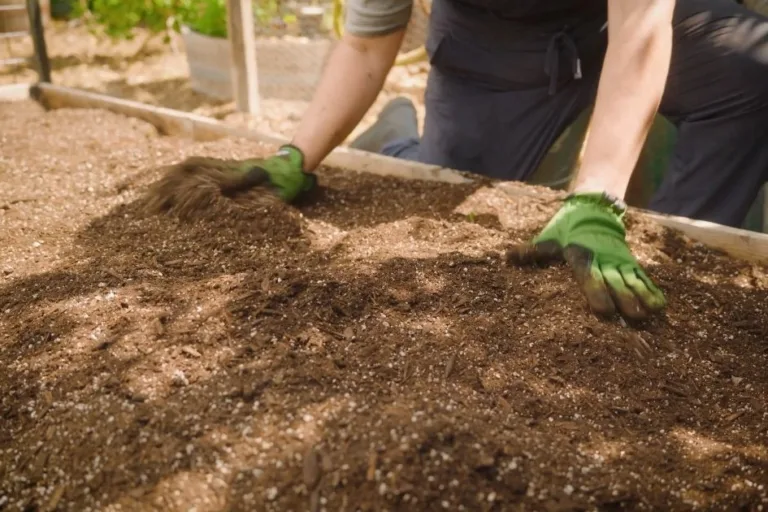
Step 7: Fill Beds with Soil
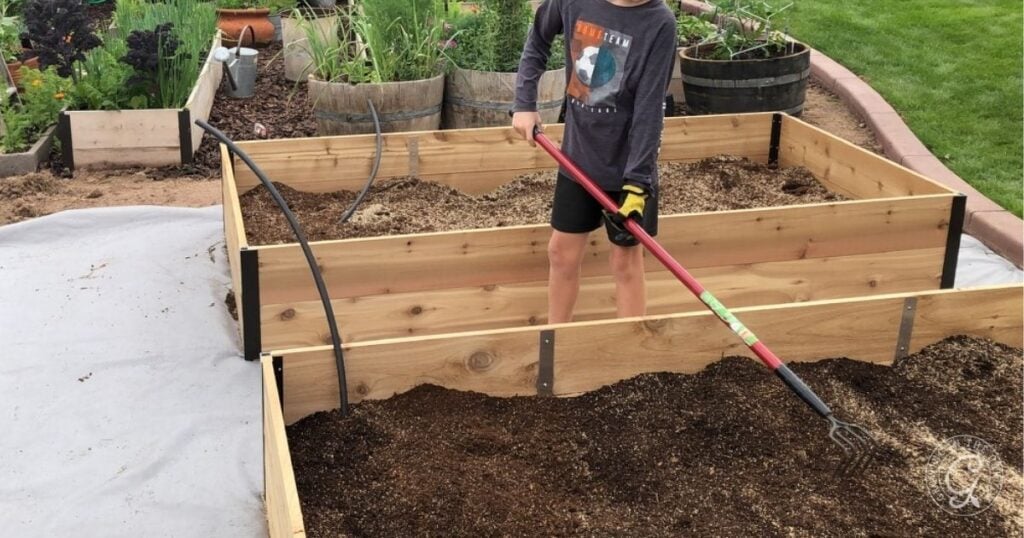
Time: 15-30 minutes per bed
We used a blend of compost, peat moss, and vermiculite, the mix I’ve used for years in all my raised beds. Arizona Worm Farm now makes this mix for me, and if you’re in the Phoenix Valley, it’s definitely worth the trip. They use their own high-quality compost and worm castings to create a rich, balanced soil that’s ready for planting. It’s fantastic stuff and has made a big difference in how well my garden grows. My guide on how to fill a raised bed explains what to add initially and how to keep improving soil season after season.
Learn more in my post on The Best Soil for Raised Bed Vegetable Gardening.
Stuck on gardening vocabulary like compost, vermiculite, and worm castings? The Gardening Glossary has your back.
Step 8: Finish the Irrigation System
Time: 1 to 2 hours
We connected the irrigation lines to watering grids from Garden in Minutes. These grids divide the garden into square-foot sections, providing even watering. We also added control valves to manage pressure for each bed.

Step 9: Add Mulch Between the Beds
Time: Half-day

We covered the exposed landscape fabric between beds with a thick layer of wood chips. This helps block light, reduce weeds, and give the garden a tidy look.
You can buy mulch or use free chips from ChipDrop.com. I’m currently using wood chip mulch from Arizona Worm Farm and love it.
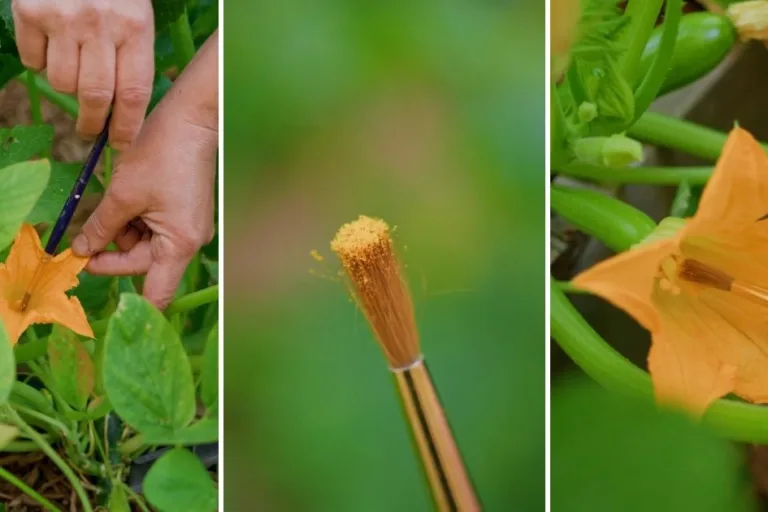
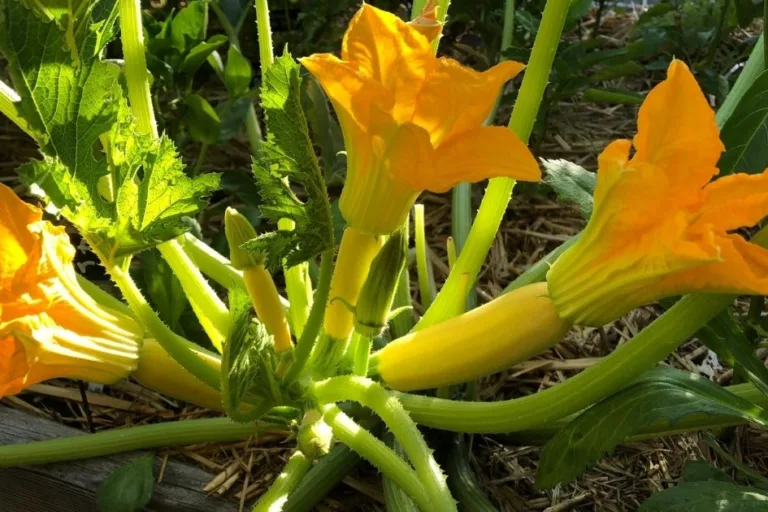
Step 10: Plant Your Garden

Time: Ongoing
With everything in place, we planted seeds and transplants suited to the season. Using my Arizona Vegetable Planting Guide.
FAQ: Removing Bermuda Grass Without Chemicals
What is the best way to kill Bermuda grass naturally before starting a garden?
Use a combination of physical removal, smothering with cardboard or landscape fabric, and layering mulch or raised beds on top.
What is the best way to kill Bermuda grass naturally before starting a garden?
Completely removing Bermuda grass is difficult, but combining sod removal, physical barriers, and regular maintenance can keep it under control.
How do you permanently remove Bermuda grass without using chemicals?
Can you smother Bermuda grass with cardboard or fabric?
Yes. For best results, overlap cardboard pieces and cover them with mulch or garden beds. Landscape fabric works well when secured and layered correctly.
How deep do Bermuda grass roots grow?
Most roots are within 6 inches, but rhizomes can reach 12 inches or more. Remove as much as possible during the initial clearing.
Does landscape fabric stop Bermuda grass from growing back?
It helps, especially when used with mulch or beds. Choose a durable, water-permeable fabric, and staple it securely.
Can I kill Bermuda grass without damaging nearby lawn areas?
Yes. Use edging or curbing to contain the area and avoid chemical herbicides. Manual removal and targeted barriers are best near other lawn spaces.
What tools work best for removing Bermuda grass by hand?
Flat shovels, garden forks, sod cutters (for large areas), and hori hori knives for spot removal.
How long does it take to kill Bermuda grass organically?
Physical removal is immediate, but smothering can take weeks to months. Plan for long-term maintenance to prevent regrowth.
Do raised beds help prevent Bermuda grass from spreading?
Yes, especially when layered with cardboard or fabric underneath and surrounded by mulch. Raised beds give you control over soil and barriers.
Final Thoughts
Bermuda grass is tough, but it doesn’t have to stop you from starting a garden. With a thoughtful plan and consistent effort, you can transform a lawn into a beautiful and productive space without using chemicals. This method has worked well in my Arizona garden, and the Bermuda grass hasn’t returned.
Looking for alternatives to traditional grass? Learn more about low-water-use ground covers like Kurapia that thrive in desert conditions.
Want help planning your raised bed garden?
Check out my Raised Bed Garden Design Guide and Arizona Vegetable Planting Calendar.
Want more water-saving tips?


Nothing gets rid of the invasive grass and weeds. I have tried everything. I am pulling weeds every 2 weeks.
Bermuda grass is tough. My areas with weed cloth are Bermuda free. However, any spots that I missed laying cloth down now have Bermuda grass growing in them. I’m going back and layering more weed cloth and cardboard.
Nice! Best of luck with your space.
I’m not a fan of weed cloth. I prefer using just the cardboard even though it MIGHT need to be redone after a number of years. We are currently struggling with a large property covered in weed cloth that is now tangled with vinca, weeds, and tree and shrub roots. It’s terribly hard to pull up! That said, since you ended up covered your whole area, why did you cut the cloth into pieces under the planting beds instead of just laying it down as solid sheets across the whole area, overlapping each section a bit?
Good point about the weed cloth. It’s hard to come up with that much cardboard at times. As far as cutting it – I also used the cut weed cloth to finalize my design. I wanted to play around with placement and weed cloth was an easy way to do that without moving heavy beds around.
This is great! Very helpful. Thanks for sharing the steps both with pictures and wording. I do best when I can “see”, on that note “seeing” your new shade a few weeks ago helped me to design mine similarly. Found someone to help us with the metal poles, but with my HOA I couldn’t go as high as yours. The pictures of the steps has my husband on the right path for final instal. Again, THANK YOU!
Wonderful! So glad it was helpful. Best of luck with your garden.
How has this held up years later? Any break through Bermuda into the garden space?
It’s been great – the first year I had a couple places come through where there were gaps in the weed cloth. Now if I come across the weed cloth in areas I pull it up – no need anymore. No Bermuda in the beds at all.
Hi Angela, I am in the process of killing off my Bermuda so I can put in my first raised bed to grow my first veggies and herbs. Gardening has always taught me patience, but this time I’m chomping at the bit to get going! I was not able to remove several inches of the Bermuda due to physical limitations. It is nearly all dead and I am wondering if laying down weed cloth will be enough to kill off the very small amount that is still trying. Life finds a way, doesn’t it? 🙂
If the Bermuda isn’t thriving, weed cloth should be plenty. Best of luck to you!
The only areas I have to place raised beds is between citrus trees. I’m concerned about tree roots invading my beds. I saw a video where a gardener laid down a double layer of woven landscape fabric flat on the ground, placed the garden bed on top with the landscape fabric extending beyond the garden bed about 18”. He covered the fabric beyond the bed with mulch so it looks nice. Would you recommend something like this? Would this be beneficial for the life of the bed? Thanks!
The roots will go right into the bed. I’ve tried the landscape fabric and it doesn’t work. You will have to dig roots out of your beds every year. I wish I had better news for you.